Image courtesy of Freedom Solar
While drones can help solar contractors survey up to 5x more projects per day, they are also powerful tools for sales and marketing. A lot of contractors already use drones to collect photos and videos of completed projects. However many don’t realize you can also use drones to create a custom 3D model of a site and use that for marketing purposes as well. And site surveyors can be a huge part of this process.
When using a drone to take images and produce 3D models for marketing purposes, there are six things to keep in mind.
1. Flight Path: Fly at lower altitudes for detailed imagery
Scanifly recommends using the point of Interest flight mode, which can be automated with several free flight apps. Specifically, fly detailed flight patterns with 15-30 degree camera angles and stay about 20 feet above the roof plane in order to capture all of the building’s details, including the facades. For more complicated properties, consider using a thread the needle approach. Not only will this enhance the site’s accuracy, but it will make a life-like 3D model.
Detailed point of interest flight series of images

Point of interest flight image
2. Leverage lighting to optimize exposure
The main variables to create high quality 3D models are:
1. The drone’s camera angle.
2. The clarity of each image.
3. Lighting quality.
Flying a point of interest flight path to capture good oblique imagery is key (see point #1 above). Clarity of images is directly correlated with the quality of photos taken. You should avoid uploading incorrect images for 3D models, including images that are blurry, too nadir, or of the horizon.
The right lighting quality is a crucial third element. Too much or not enough sun can be problematic, hence avoid flying at dawn or dusk. Too much sun or a metal, reflective roof can also cause glare. It turns out that overcast days are actually best. For some properties with full sun, a neutral density (ND) filter, which is like sunglasses for your drone, could be needed. Tweaking the camera settings, especially contrast, is another strategy. Scanifly conducted a full webinar on this in 2020 for further information.
Number of photos taken is also important, but surprisingly less so. If the lighting is wrong or the quality is low, it doesn’t matter how many pictures you take.
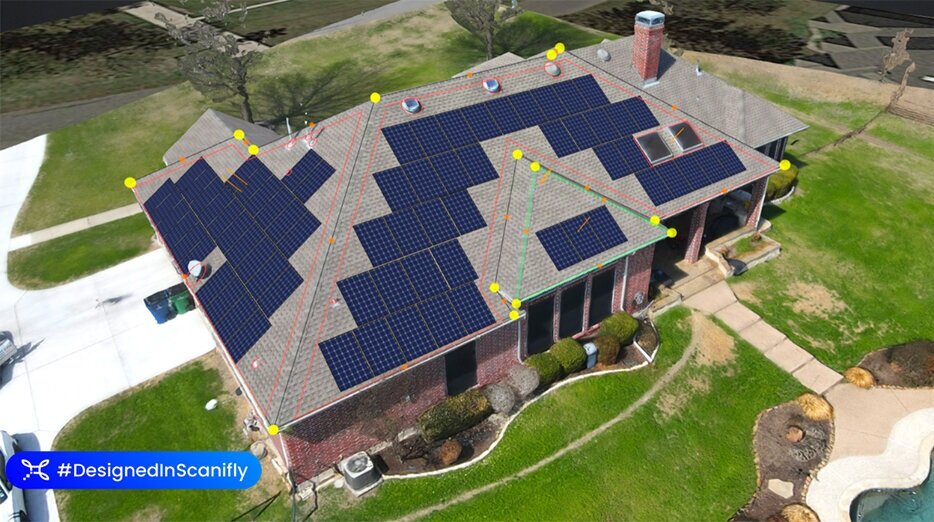
3. Project Design: Focus on a clean layout
A project layout should be designed like any other aesthetic piece being added to the exterior of a property. Consider three key factors:
Array color and visuals: Look for sleek settings (like black panels on black shingled roofs) or high contrast images (like black and white panels on a red-tiled roof).
Avoiding cramped layouts: Avoid installations that almost look like a tetris board with panels added in every possible nook and cranny of the roof (sometimes this is inevitable if you’re trying to max out production with not many choices).
Avoid a missing-teeth look: Minimize leaving out panels in a fulsome array due to a vent pipe or attic fan. The missing teeth smile array isn’t so appealing either. A better visual array will look better in imagery just like it will once completed and the whole neighborhood notices.

Image courtesy of Empower Solar
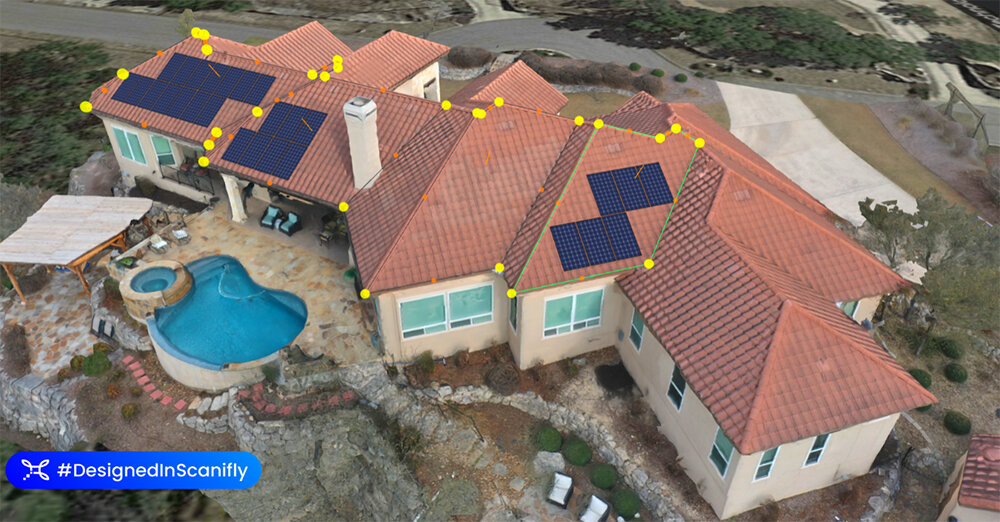
Image courtesy of Freedom Solar
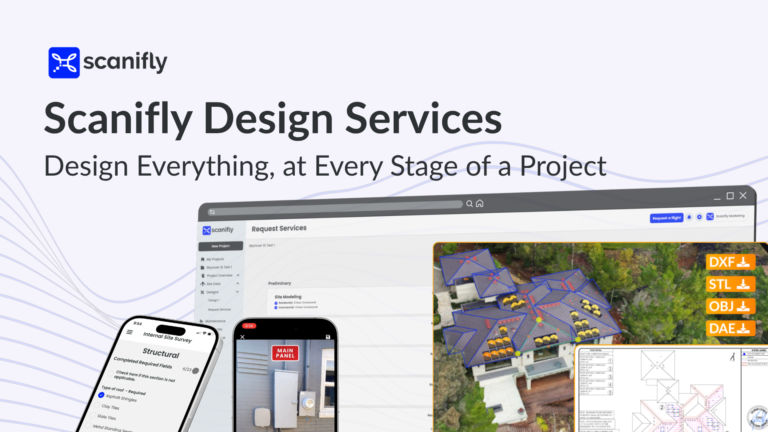
4. Sharing: Make a share link to showcase the project
In Scanifly, you can automatically generate a one-page document with a secure share link that has project information, four images from any angle you want, and the embedded 3D model. You can use this sharing link to post projects on social media as well (with the property owner’s consent), so that other people can see your work without you having to create a whole new document. The share link can also be powerful for other use cases, including sharing during webinars, at conferences, or to multiple stakeholders on a large potential project.
5. Filters: Use filters to make your photo pop
Filters help make the images look their best. Thankfully, apps like Instagram or Canva have ready-made, free filters you can apply to add some extra visual pop to your projects. This is something we do ourselves: the images you see across Scanifly’s solar drone case studies are 3D models filtered with Canva’s “solar” filter.
6. Videos: Promote your project with a simulation
While you can share standalone images, videos capture more attention. Here are three types to consider:
1. Chronology: Showcase images to demonstrate how you took a project from start to finish.
2. Explanation: Use the images to visually demonstrate a process or concept while an audio track explains what the viewer is seeing.
3. Comparison: Create videos comparing images of your 3D models to the as-built installation images to validate your plans (Scanifly does this as part of our accuracy pledge).
The possibility of drones
Leveraging drone-based solar design software will bring the project to life even before it’s built. This kind of engagement can delight current customers, entice new customers to work with you, and deliver an intangible cool factor for your business. Because drone imagery is captured during the site assessment, it is just another reason why your surveyors can be some of your best salespeople.