Drone flying today is automated to the point where drone pilots don’t have to do much after take-off. Between the free DJI Go 4 app, DroneDeploy’s app customizations, the Skydio 2’s self-flying features, and others, many aspects of drone flying can be streamlined. However, flying in difficult environmental conditions can end in lower-quality photos and potentially detrimental damage to your drone.
Here are tips for navigating the toughest of conditions:
1. Flying in intense heat or chill
At its core, a drone is a piece of electronic equipment. Regarding temperature, the biggest things you must worry about are battery life and heat tolerance.
Handling cold temperatures
On average, you might see a drone battery drop 1-2% per 30 seconds of active flying. In cold weather, that can jump to 10% per 30 seconds. One way to counteract cold weather is by bringing multiple batteries with you during a flight, and keeping the extras warm in a glove compartment so they don’t lose capacity in the cold. Additionally, changing out batteries when they drop below 30% is important to prevent a massive battery life drop and drone damage.
Handling extreme heat
Drones can operate in hot temperatures (for example, the DJI Mavic Pro and Phantom 4 list operating temperatures of up to 104F), but the challenge comes from extreme heat in your car and managing humidity. To maximize drone usability, it’s recommended to place drone batteries in a cooler to avoid having them get damaged by humidity.
Further, keep flights as short as possible and recalibrate your parts – drone, camera, smartphones, and batteries – regularly.
2. Flying around dense vegetation and trees
If you’re in a spot with a lot of vegetation or trees, make sure to prepare correctly ahead of time and take extra consideration on flight day.
Preparation before the flight
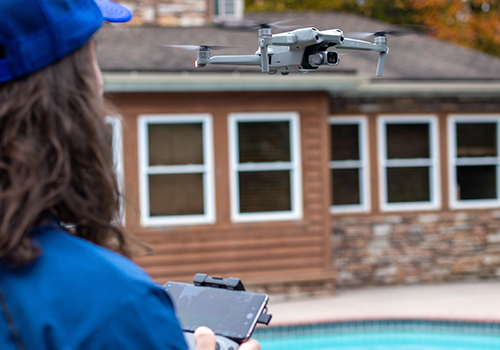
The best preparation you can do is to anticipate an accident. That means bringing propeller guards, spare props, and even a backup drone just in case. Make sure you have GPS mode set up on the drone to navigate more easily and RTH mode on so you can easily recall the drone before something happens. Here is a brief video outlining these considerations.
Setting up your flight
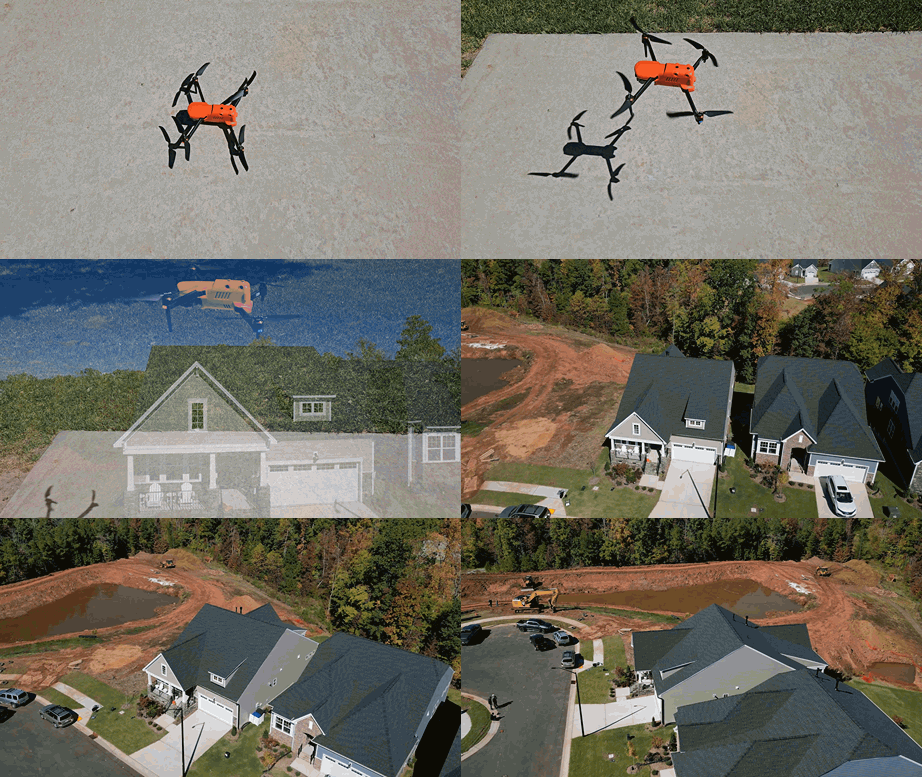
Find the most open place you can for take-off and landing. Then set up a point of interest flight path on the building you’re surveying. Many drones, like the Skydio 2, have object avoidance built into their software when in POI mode, which will be extremely helpful.
What to do if you crash
First, locate your drone. If you’re concerned it could fall (i.e. out of a tree), secure the area below so no one is hurt. Then reclaim it – either on your own or by calling a tree climber. Once you have it back, assess damage to the propellers and the drone body itself. If you have any visible damage, use your backup drone to finish any work, and make sure to get technical support from the drone manufacturer (or your company’s drone support desk, if you have one).
3. Flying in suboptimal lighting conditions
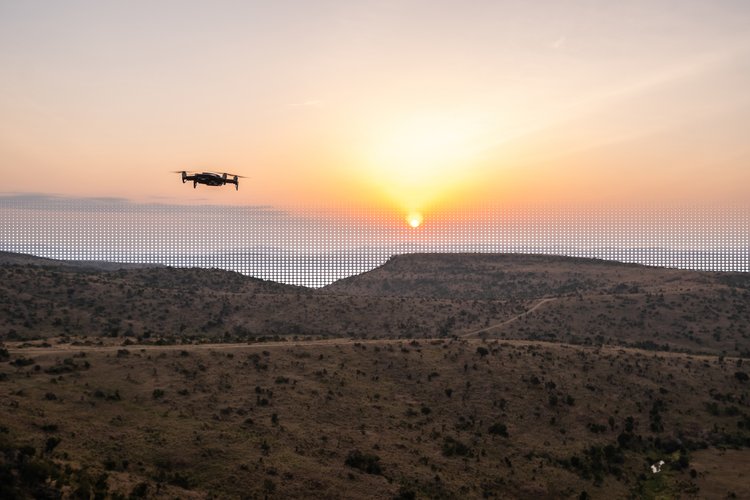
If you’re flying in suboptimal conditions – either too bright or too dark – there are a few things you can do to ensure you still get high-quality images.
Apply filters as needed
If you’re operating in full sun that washes out your building, use a Neural Density (ND) filter, which basically acts like sunglasses for your drone camera. In low light, adjust the ISO, which is the camera’s sensitivity to light. Typically, try to keep it as low as possible, since a high ISO can cause graininess. However, in low-light situations, increasing the ISO can brighten the image. Here’s a demonstration video of how to apply those filters.
Adjust the aperture
The aperture determines how much light the camera lets in. The more open it is, the more light the camera absorbs. Close the aperture more on very bright days to minimize light intake, and open it up wider on low-light days to maximize light intake.
Adjust shutter speed
Shutter speed dictates how much light the camera “sees” when taking a picture. If you have a slower shutter speed (meaning the shutter is open longer during a photo), more light will come in, making it ideal for a low-light day. If you find your images are washed out, try increasing the shutter speed to limit the amount of light coming into your pictures.
4. Flying in high wind conditions
Wind conditions can be lethal to drones, especially since the average commercial drone weighs between 1-3 lbs and can be easily tossed around in the sky.
Avoid high winds and keep an eye on battery life
If you’re just beginning with drones, it’s usually best to avoid operating in wind speeds above 10-15 mph. After you get comfortable with drones, it’s fairly easy to operate in winds as high as 20 mph. However, the real problem is not wind speed but wind gusts: check the weather forecast for blustery winds that could knock you out of orbit.
Also, keep an eye on your battery life, since flying back in a headwind will take up much more battery capacity than flying in windless conditions.
Think about wind at different altitudes
Wind speeds vary widely at different altitudes. You might have a 5-10 mph wind near the ground that escalates to 50 mph once you’re up 200 feet. When planning your flights, check both wind speeds at different altitudes (you can do that via the Aviation Weather Center) and consider the altitude you need to fly at for the building you’re surveying.
Steady the drone before taking pictures
Once you get the drone in the air, stabilize it for a few seconds before taking pictures. If the drone is wobbly due to wind, the pictures will likely be grainy, blurry, or low-quality, making them useless for 3D modeling.
Humans bridge the technology gap
While technology cannot solve every problem, good drone piloting can. Thankfully, the key to success with any of these challenges is simply practice: while you should never fly if you don’t feel safe flying, you can handle all these harsh climates after you get more experience with drones.

