As a company, we take pride in the Scanifly Accuracy Pledge. We know from personal experience working in solar, and from conversations with hundreds of solar contractors, that accuracy is the most critical element of solar surveying and design. Without it, you can’t build trust – and without trust, your business won’t survive. While our official commitment is accuracy to within 2-3 inches, accuracy road-tests with customers find Scanifly to be perfectly accurate to install a solar project without extra truck rolls, change orders, or redesigns.
Because we take accuracy so seriously, our team re-validates our accuracy pledge by frequently confirming that the physical world matches the virtual world Scanifly’s solar design software creates. So when Scanifly launched a recent software upgrade, two executives – Founder and Chief Product Officer John Novak along with CEO Jason Steinberg – climbed up on the roof themselves to run an accuracy test.
Here’s how it went.
Step 1: Manually measuring three roofs
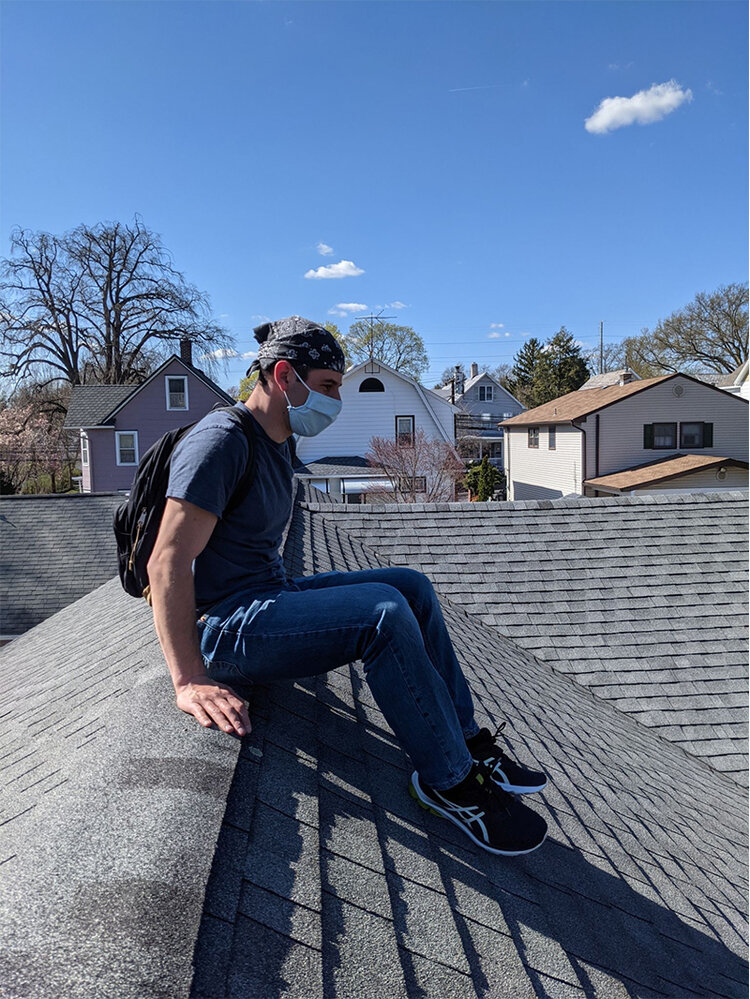
First, we identified three different roofs to test:
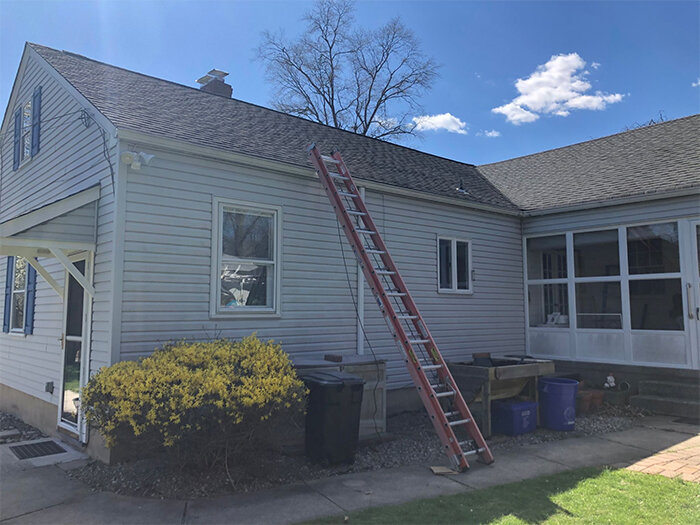
1. A residential home with a pitched roof.
2. A small commercial building with a flat roof.
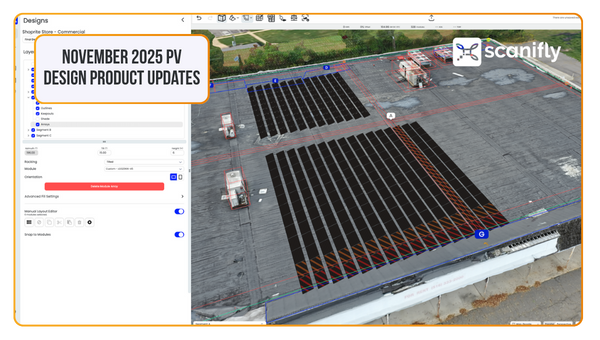
3. A large commercial building with a flat roof that contained significant obstructions.
We followed the same manual process many solar surveyors do today: we picked up our handheld equipment (e.g. tape measure, sketch paper etc.), hoisted our ladder, didn’t tie down the ladder, and didn’t harness in. Pretty consistent with the industry standard.
Climbing on the roof reminded us why we didn’t like roofs all along: the pitch was steep, wind was blowing, and we were concerned about dropping equipment, which we know is unfortunately common. 58% of solar surveyors admitted they have dropped tools off the roof in a Scanifly survey. After a while, we regained our confidence.
Once on the roof one, we measured everything as if we were surveying for a client: we started with the ridge and then moved onto the valleys, eaves, edges, rakes, then onto obstructions, including the chimney and vent pipe.
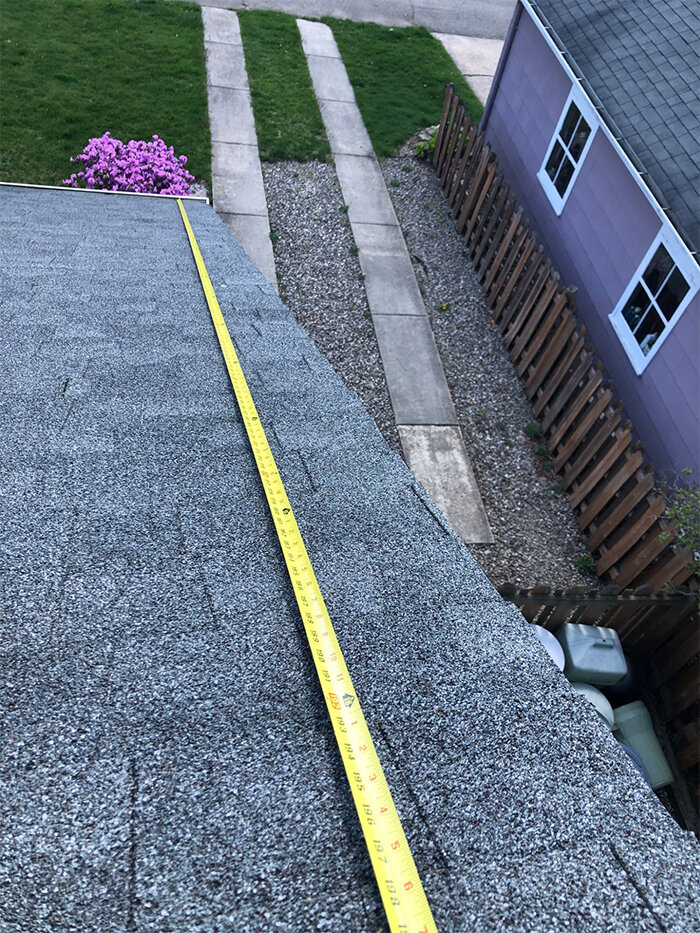
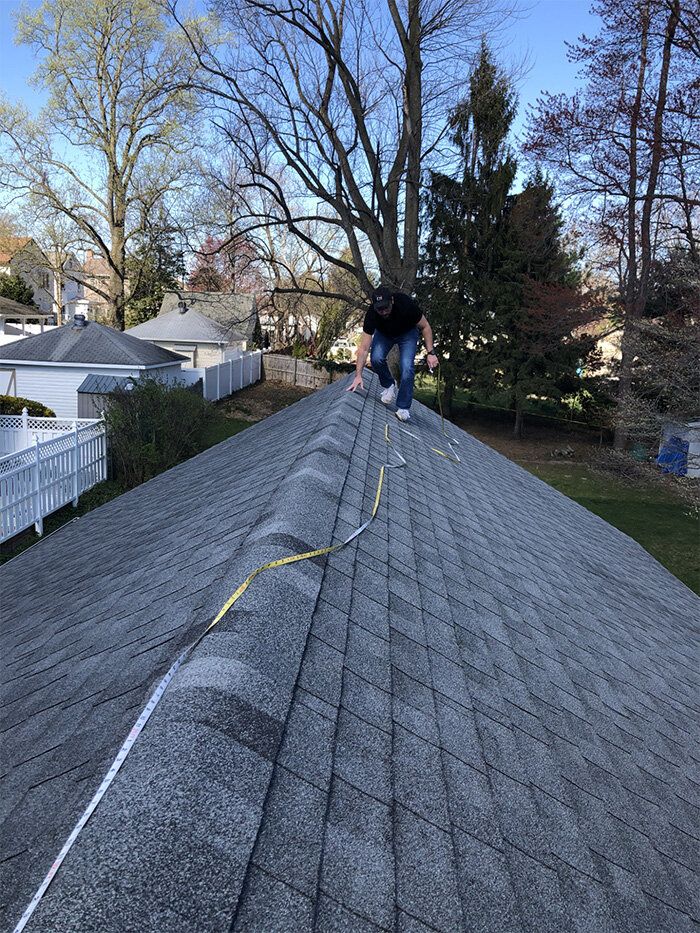
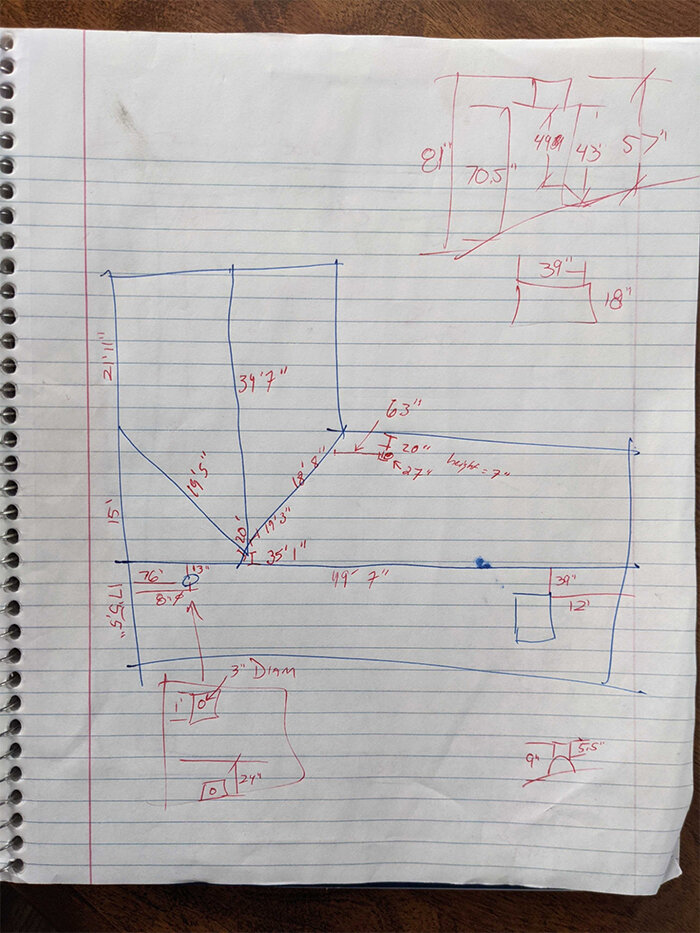
The two commercial roofs were easier to stand on, but we spent a lot of time trying to navigate all the obstructions. On the larger roof in particular, we spent an hour measuring around the air conditioner units and heat vents. We know that can impact solar shading analysis and module placement as if this were a real installation job.
Given the roof equipment, we would have needed several hours to even attempt to map everything on this commercial roof – but we had enough for the accuracy experiment. Luckily, we could still read our own handwriting.
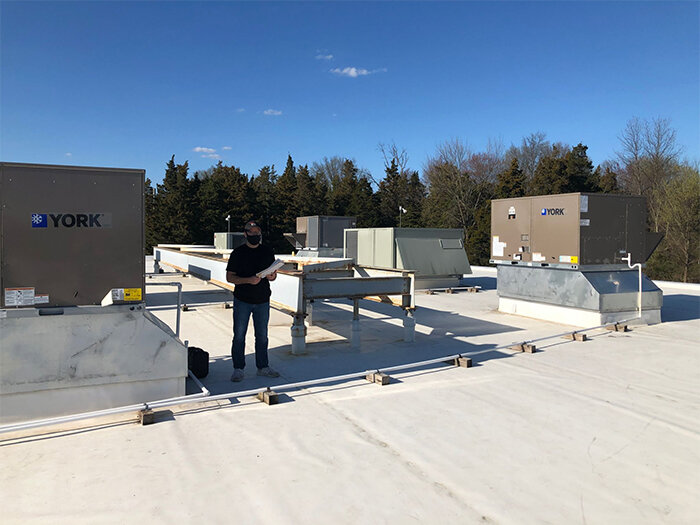
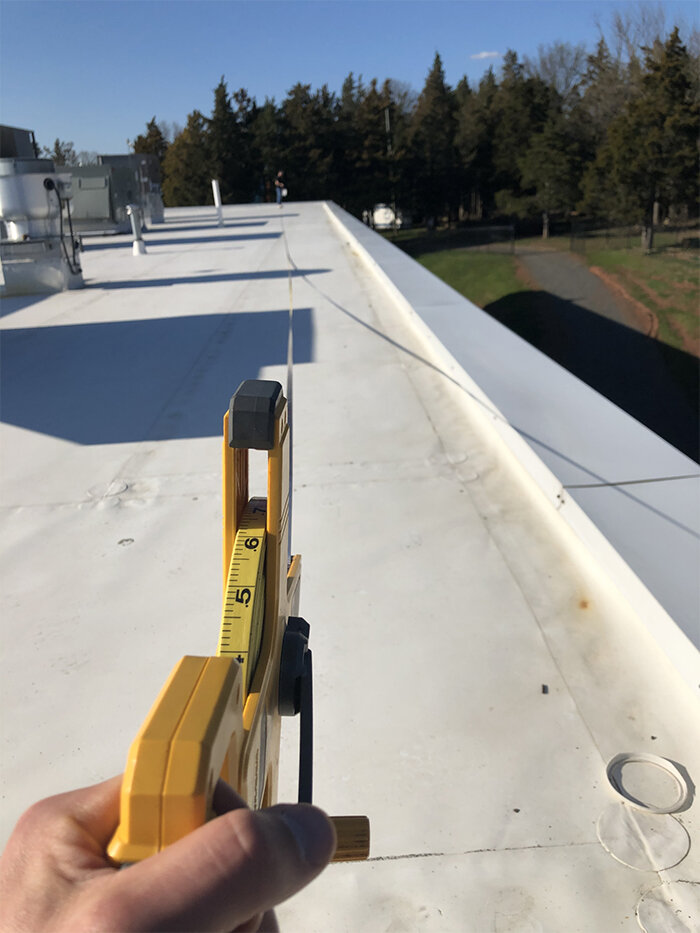
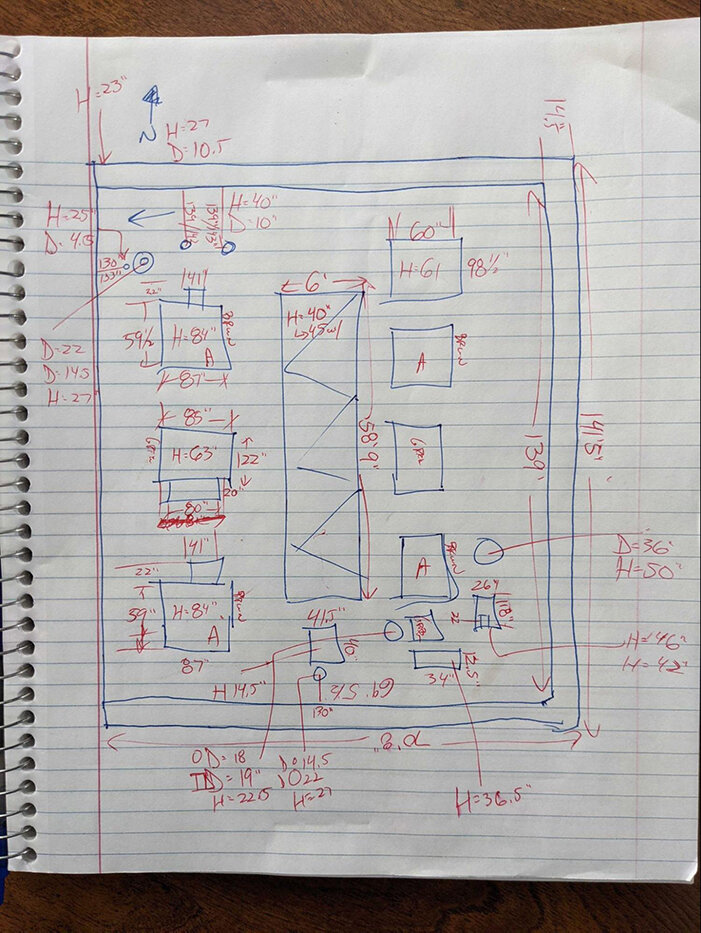
Step 2: Drone confirmations
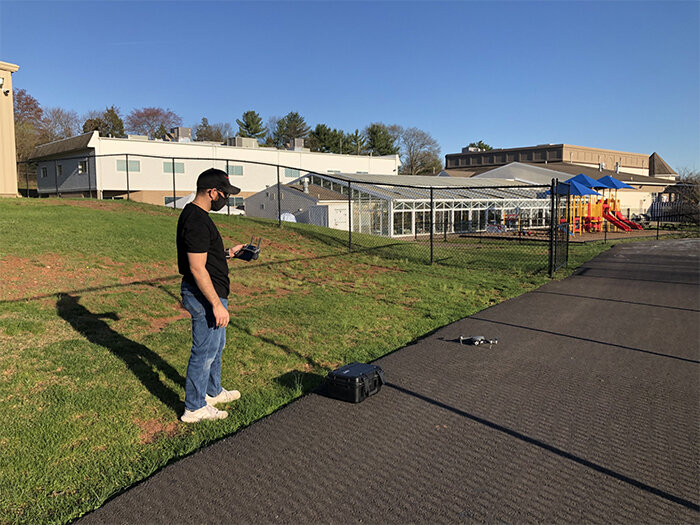
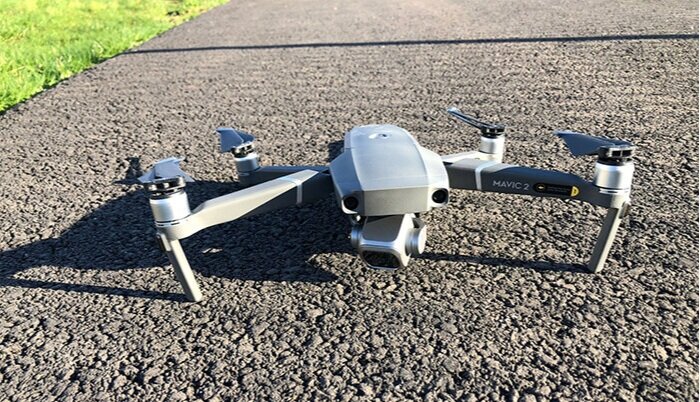
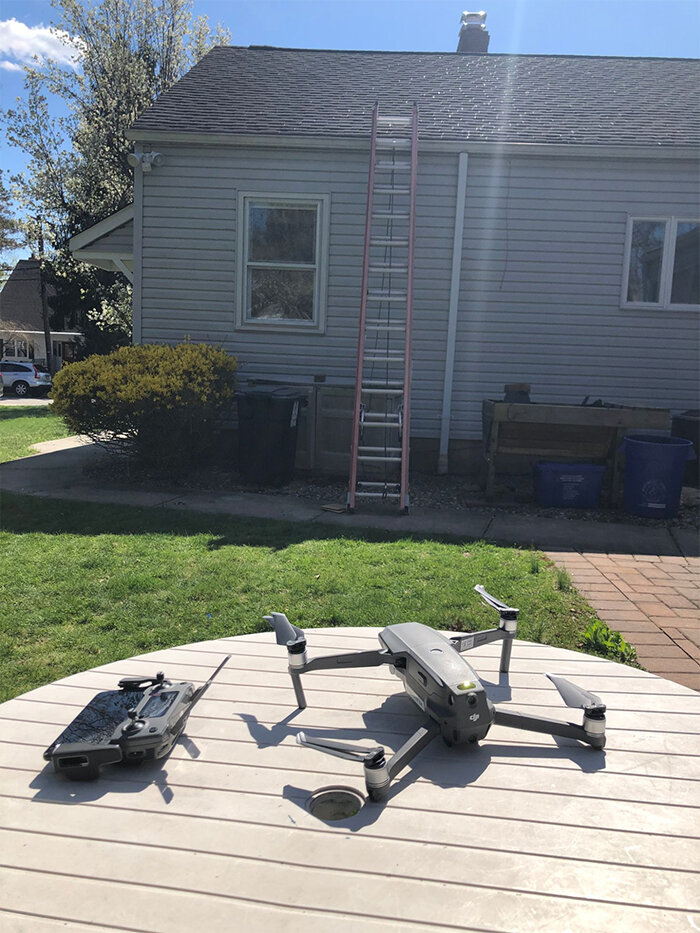
After climbing down from each roof, we got to the fun part: drone confirmations. We pulled out our Mavic 2 drone to 3D map the site in order to generate a 3D model in Scanifly.
The drone process was significantly faster. The roofs took 8-15 minutes to fly, compared to 40 on the residential roof and over an hour on each commercial roof.
Step 3: The final comparison
As we expected, our accuracy test reaffirmed our pledge: the drone measurements were accurate to within 2-3 inches of our hand measurements. The experience also reminded us about the extra value of drones, namely safety and speed, which is something our customers tell us they love.
While Scanifly is a software company, we know the real work is done in the real world by the hundreds of contractors that use our platform and rely on its accuracy. We are honored that our software has played a small part in helping local and regional solar contractors scale, and we are humbled that contractors trust Scanifly with a significant part of their business and customer experience.
